Friday, February 22, 2013

Native Americans Part 3

We are almost there!  The end of our Native American unit, that is.  Although, I'm pretty sure I've sparked an interest that will last a lifetime.  

The Inuit

Technically, the Maidu of California was the next tribe we were supposed to study if we continued working "backwards."  Like I said before, though, you can really work in any order you'd like.  I just didn't want to be jumping all over our map.  For me, this was a good place to reverse order and start working from the "beginning."  Especially because our homeschool group was studying polar regions in January, and it worked out well to do our Inuit pocket and activities during that time.

Pocket Activities

Tell me a story

Each child writes a personal experience about something that may have happened on the tundra.  Laken wrote about ice fishing, something she saw them do on Frozen Planet: "Life in the Freezer."  I highly recommend it!


Arctic Ice Fishing
Cute craft!  The string actually has a clear straw on it that serves as the "ice."  The hook and fish each have a magnet on them.  You lower the line down through the ice and try to "catch" the fish by lining the magnets up!


Additional Activities

During the winter, Inuits spent a lot of time inside their igloos telling stories, playing string games, and soapstone carving.


String games
I taught Laken the only string trick I know, involving cat's cradle, but it was always enough to keep us entertained when we were kids.  I like that it was easy enough for her to follow, but it took lots of practice for her little fingers to learn to do what her brain wanted them to do!


Step 1: These are the steps for cat's cradle


Step 2: Slide middle finger under string, and pull back...


Step 3: Should now look like this.  Now just repeat with the other hand (see Laken trying to figure out which finger)!


Done!  So proud of herself!  The actual trick involves a partner so I can't video or take pictures; but someone just puts their hand through the center of the cat's cradle, and then you let go of the strings on all your fingers EXCEPT for the thumbs (the string should then be wrapped around the volunteer's hand).  You should also be back at Step 1 for cat's cradle.  Repeat all of the steps again while your string is still wrapped around the volunteer's wrist.  When your cradle is complete, have them bring their hand back up through the center FROM THE BOTTOM.  Let go of all fingers except for thumbs again.  Your volunteer should be free!


Soapstone Carving
Couldn't pass up this opportunity for soap carving, a great way to help children remember one of the Inuit pastimes.

This was great fine motor work, and sensory input.  I just let her peel away for as long as she wanted.  I didn't expect a "finished product."


Constructing an igloo
I try to reconstruct the shelter with each tribe.  This was my favorite so far!  I made snow dough, and we used an ice cube tray to make tightly packed bricks of snow.  Again, this was more about the process than a finished product.  There was a little bit of trial and error.  I found that rubbing a little vegetable oil in the ice cube tray really helps the "bricks" slide out, and the tighter you pack the "snow" the better your bricks will turn out.  You can see them actually construct an igloo on Frozen Planet: "Life in the Freezer."

The invitation.  Our ice cube tray hung perfectly on our bin.  Gotta love when that happens!

See how much better our bricks started coming out once I put oil in the tray.  The ones on bottom are from our first try.  We only made 4-6 at a time just because we wanted to add them quicker than we could make them.

We added a piece of a tp roll for the front.  You could try other things as well that would probably work better, like a pvc cuff.  This whole process, especially using the frame as a crutch, brought about great conversation about how hard it would be to build a real igluviak!

 The last picture I have before we filled in the cracks with "snow."

After we filled it in with snow!  It was a beautiful day to be outside, listening to the birds chirping.  This officially marked the end of our winter unit!


The Tlingit

This tribe was tricky.  I didn't come across, or come up with, any additional activities besides constructing the shelter.  I did look for a potlatch hat craft, but I couldn't find one.

Pocket Activities


Potlatch mask
Came out really cute!  Laken used paint markers to color it.  She isn't very interested in coloring WITH CRAYONS lately so I've been trying to offer her as many other coloring options as possible.


Totem pole layer book
This was challenging for Laken, but I like for her to be challenged occasionally.  She is not a huge fan of writing, and I put off even suggesting this activity for several days.  Surprisingly, she really enjoyed it; and it turned out to be a great keepsake!  We discussed the qualities of the animals, and then assigned those qualities to family members.  Mommy was the raven, Laken the butterfly, Daddy the whale, and she chose her cousin, Kodi, as the fox.  The reasonings behind them were really sweet.

Additional Activities

Salmon for dinner
I grilled Alaskan salmon burgers for dinner (I am officially not a fan), we made our masks just before our "potlatch," and had ourselves a little feast.  It was good family fun!

Construct a plank house
I've considered using craft sticks for several other shelters (chickee & longhouse in particular); but I'm not the biggest fan because it's usually quite a bit of work, and I know Laken's not quite old enough.  Well, I'm glad I waited because craft sticks were really the best option for the plank house; and since I couldn't find any other additional activities, I was willing to put in the extra work.  Turns out it wasn't much work after all, and this is another one of my favorites. 
I just started with a small, rectangular box ( a tissue box would work); and we glued craft sticks all around the sides.  Well, I did most of the gluing.  Laken is still not a big fan of the hot glue gun, but it was a lot less messy with quicker results this way.  She was very interested in the process, though, and she was a great helper and observer.

Then, we painted it with natural paints to give it more of a redwood look.


Most crafts are about the process, and only a few are about the product.  I love what she gets out of playing with this!  I only put a roof on one side so that she can play inside the house too.  It won't last forever, but hopefully the memories will.

Sunday, February 17, 2013

Mardi Gras

I am from Louisiana, and we visit as often as we can to see my family so it is important to me to keep the tradition of Mardi Gras alive in our home.  This year, I tried to involve Laken as much as possible in those traditions, while creating a few of our own as well!  

We made our first Mardi Gras lapbook:
Here are the links I used:


A look inside the completed flaps.  I love that there was no writing!  And I also chose to use both links even though there were duplicate questions.  This was good for my preschooler.  My favorite is the flap that shows what the three colors of Mardi Gras represent.  Laken used dot markers to color it.  The whole inside of the lapbook took her less than 30 minutes to complete.

The back of our lapbook: King K craft (found here in first link).  She actually did this the first day we worked on our lapbook.  It took about 30 minutes to complete by itself, and she requested a lot of help with cutting and coloring (not a big fan of coloring these days) so that was all we did with it that day, and then we left it to dry.

Decorate your own King Cake.  I've never decorated my own King Cake before, ever.  I was a little disappointed at first, because it's not what I was used to; but then welcomed the opportunity for us to enjoy this first together.  This was messy fun for Laken, and a new tradition!

And it turned out beautifully!  

  We looked at masks at Jo-Ann's craft store so Laken had an idea of what Mardi Gras masks were all about.  Then I set up this invitation to make a Mardi Gras mask with a template I found in the first lapbook link.  I walked away while she glued the gems on, and was really impressed by the symmetry of the way she placed them when I returned.  We talked about the different ways we saw feathers on masks, and she chose to put hers like this.  I held them in place as she picked them out, and glued them on.  I suggested doing three sections of purple, green, and gold glitter; but she wanted to put them all over.  I enjoy getting a chance to work with her on a craft while still giving her control over the design, and I love our finished product.

I also used the heart shaped template from the same link to do masks for Valentine's Day, but they still make great Mardi Gras masks too!  Mardi Gras fell just two days before Valentine's Day this year, and I tried not to overlook one or the other. It was nice when I could tie them together.  I made the mask on top, and Laken made the bottom two.

Eventually, the idea came to me to try using salt dough to mimic the look of a porcelain mask.  
Here's the recipe I used:
1 c flour
1/2 c salt
1/2 c warm water
Knead the dough for 10 minutes, and let it rest for another 40 minutes.

Make sure you roll your dough out on your parchment paper.  I didn't the first time, and was unable to free it from my cookie sheet to put it on parchment paper before going in the oven.  From there, I just free handed it.  It's a lot easier than it looks!  Bake in the oven at 200 degrees for 4-5 hours until hard.  

The invitation to decorate, which took less than 10 minutes after a six hour preparation.  It was well worth it, though.

Fabulous!  We had quite a bit of leftover paint so we painted some more heart masks, too.

This was fun.  We put purple, green, and yellow paint on a piece of paper in a bin; and added Mardi Gras beads.  Then, you just shake until your heart's content!

I made red beans and rice for Mardi Gras so I took the opportunity to change out Laken's sensory bin.  I always have a sensory bin with some kind of grains and/or legumes in her kitchen for her to play with.  It gets used frequently.  This one will stay for quite some time still. 

Do you do anything special for Mardi Gras?  If so, or if you just love some of the ideas you've seen here, we'd love to hear about it!


Wednesday, January 16, 2013

Native Americans Part 2

We've been moving slower than anticipated, but that's okay!  It has actually worked out better for us.

The Navajo


We studied the Navajo while we were in Louisiana visiting my family for the holidays, as far southwest as we were going to get.


Pocket Activities

Create a Navajo Rug
Laken colored the rug with crayons, leaving plenty of white space for the watercolor wash.  Then she just used watercolors to fill in the white space, giving it a color washed look.  I loved this effect!


Design a Navajo Necklace
We were meaning to do this in La, but never got to it.  I set it up for Laken one day after we got home, and she wasn't interested in it.  So I traced the imprint onto the foil for her, and then she took over gluing the beads.  Then, she laced beads onto one side of the string while I did the other.  I enjoyed sitting and working with her, and I'm very pleased with how it turned out!


Additional Activities
I've been trying to incorporate one or more of the vocab words for each tribe into our additional activities.  For the Navajo, hogan and fry bread were two of our vocab words.


Build a hogan
Navajo lived in hogans built from sticks and mud.  There was an opening at the top to allow smoke from the fire inside to escape.  I used a gallon milk jug, and cut the bottom off.  This gave us a perfect frame to pile mud on, and left us with a hole at the top.  We even threw some matches in there, and watched the smoke rise out!


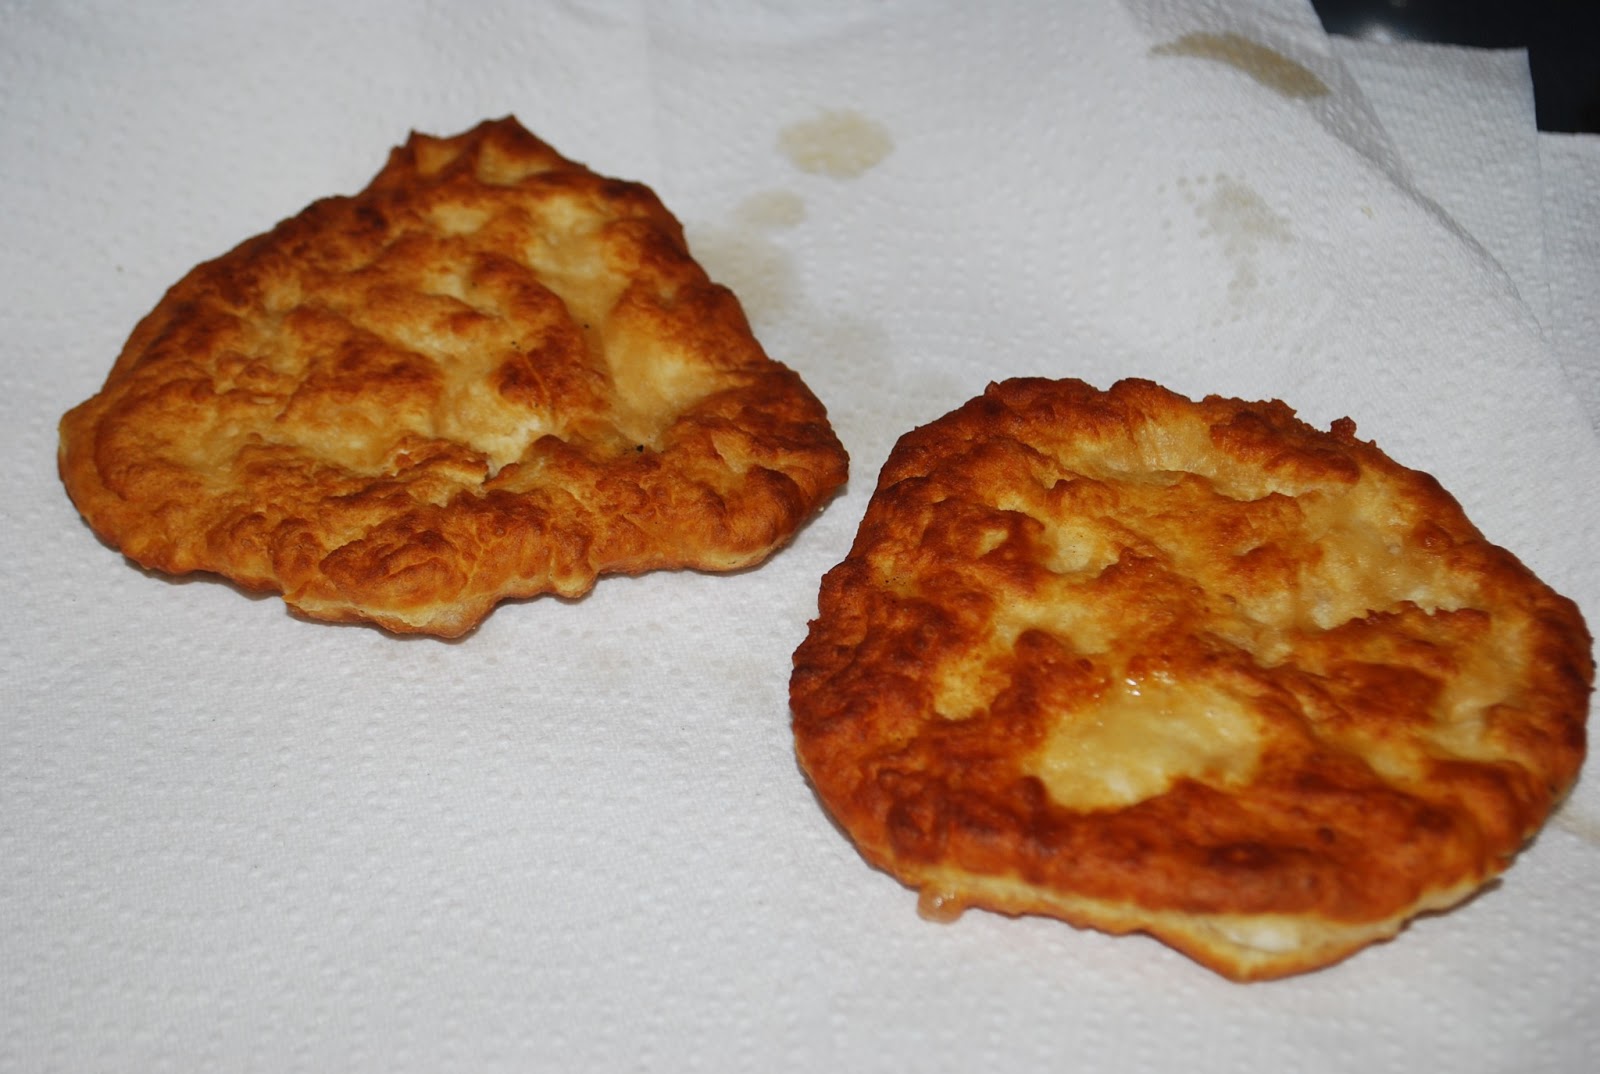
Make fry bread


Navajo sand art
I had her draw a design with a black permanent marker; and then she used the paint brush to apply the glue for the sand.


The Sioux

We left our history pocket book in Louisiana by mistake so we had to wait for it to come UPS after the New Year with our Christmas gifts that wouldn't fit in our suitcases.  We were also sick for the last several weeks so we've really been dragging our feet with getting back into schoolwork.  Then, I realized it would work out perfectly to study the Inuit of the Arctic while we were doing our winter unit for homeschool co-op this month; but I needed to do The Sioux first.  I'm already going out of order by doing the Inuit next (and I don't mind), but I didn't want to skip this entire region.  It really would've thrown our map out of whack.  So, I didn't do a lot of extra planning (not that I didn't try, but it worked out that I didn't come across many "additional activities"), and we were in a bit of a hurry to get through this tribe; but I was also pleasantly surprised by our activities (all of which I didn't expect to spark too much interest).

Pocket Activities


 The Amazing Buffalo
Laken got a kick out of this, and was easily able to decipher where the pictures went on her chart.  I was taking pictures of her doing this activity, but my pictures kept coming out cloudy.  Then, I realized I had a smudge on my camera!  So, here are a couple of clear shots of the front cover and inside.

 Ankle Band
This was the most surprising of all!  I certainly had my doubts.  I mean graph paper, and a 4-year-old? I should have learned to never underestimate by now, though!  I even lucked out, and came across these patterns.  Some of them are very simple.
So proud!  She chose the symbols/patterns for tipi, horse tracks, and cloud.


 Too cute!  You can add bells to them, too, but we don't have any... yet!


Additional Activities


Bison for dinner
You can find bison at most grocery stores.  It's extra lean, and oh so yummy!  This wasn't really a special occasion for us.  Simply a must!  We eat bison all the time.  It's a favorite.


Natural paints
The Sioux used berries, leaves, grasses, and flowers to dye their rawhide clothing.  I've been holding onto these natural paints for way too long.  I was saving them for a "special occasion."  I don't know why when Chris can easily bring us more from the co-op.  Now that we've tried them, I will be using them more often!  I've been experimenting with natural dyes on our Easter eggs for the last couple of years, and 
I have to soak them overnight just to get a hint of color to them.  So I wasn't expecting much from these, although I figured I'd at least give them a try for Easter this year since it says you can use them for egg dying.  After all, I've got nothing to lose.  Well, I was blown away by the deep, rich color of these paints; and now I can't wait to try them on our eggs this year!


Make a paper parfleche bag
This was one of our vocab words.  A parfleche is a rawhide sack used to carry food and clothing.  I came across a brown bag craft for this, and couldn't pass up the challenge.  I used the directions found here, but with a brown paper bag instead of felt.  I made the parfleche bag, and Laken used the natural colors to paint it.  

Completed parfleche.  I love the way it turned out!


Parfleche with pretend jerky in it.


Ready to go!